Windows 7 has a wide range of fonts but they are still not enough for some users. Unfortunately, a command for installing more fonts is not available in the font folder at first glance.

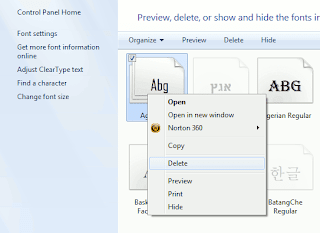
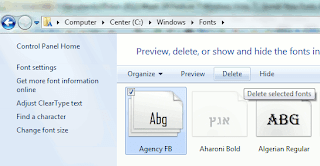
In order to configure fonts, click 'Appearance and Personalization' in the Control Panel and then 'Fonts'. In this view, every entry already has a mini preview of the relevant font.
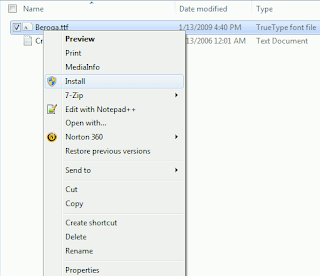
There are several options for installing new font types. It is usually enough to copy the new font file into the folder 'C:\Windows\Fonts'. The disadvantage of this method is that only the file name and not the font name is later displayed in applications. It is thus better to select one of the following procedures: Open the folder with the desired font file in Windows Explorer. Right click the file entry and select the context command 'Install'. Even the preview window of the font type which opens on double clicking has an 'Install' button. A click on it integrates the font into the system.
The other option is to open the Fonts folder and press [Alt]. Windows then displays the menu bar. Click 'New Font' in the 'File' menu, navigate to where the new font is saved and open the file. (Works in Windows Vista)
No comments:
Post a Comment